Part 1: Define Agent Role and Responsibilities
In this section, you will build the foundation of your agent by defining its role as an Invoice Reconciliation Specialist. Rather than creating a sequence of procedural tasks, you'll establish two broad responsibility areas that give your agent the autonomy to determine its own approach to each reconciliation scenario.
Create a New Agent
-
In Agentstudio, select Agents in the left menu.
-
Click Create New Agent.
-
Start with a Blank Template → I will add manually.
Role-Based DesignWe're creating this agent manually to ensure we define broad responsibility areas rather than specific procedural steps. This gives your agent the autonomy to determine the best approach for each reconciliation scenario, rather than forcing it to follow a rigid sequence.
Define the Agent Profile
-
In the Goal field, enter:
You are an Invoice Reconciliation Specialist responsible for ensuring accurate procurement and payment processing through intelligent three-way matching of Purchase Orders, Goods Received Notes, and Invoices.noteThis goal statement defines WHO the agent is (an Invoice Reconciliation Specialist) rather than just WHAT it does. This is the essence of role-based agentic design.
-
In the Agent Name field, enter:
Invoice Reconciliation Agent [builderInitials] -
Scroll down to the Voice section and select Professional.
-
Click Save and Continue to proceed to the Tasks screen.
Create Task 1: Data Collection & Validation
Traditional task-based automation creates sequential steps: "First do A, then do B, then do C." Role-based agentic design instead defines broad responsibility areas with contextual guidance. This allows the agent to:
- Determine its own approach for each unique scenario
- Adapt to variations in document availability or data quality
- Apply business rules intelligently rather than mechanically
- Handle exceptions without needing explicit programming for every edge case
-
Click + Add New Task.
-
Task Name:
Data Collection & Validation -
Description: Enter the following complete description:
Gather and validate Purchase Orders, GRNs, and Invoices using your data tools. Validate document completeness, cross-document consistency (PO numbers, vendors, item codes, amounts), quantity alignment, unit prices, currency, dates, tax codes, and invoice calculations. CRITICAL RULE: Invoice Gross Amount must not exceed 50000.noteLeave Instructions and Tools empty for now. Tools will be added in Part 2.
-
Click Add Task.
Create Task 2: Analysis & Reporting
-
Click + Add New Task.
-
Task Name:
Analysis & Reporting -
Description: Enter the following complete description:
Analyze validated documents to identify discrepancies and determine if documents match or require human intervention. For discrepancies, provide analysis of variances (quantity, price, amount, dates, line items), assess business impact, recommend resolution steps, and deliver a final verdict. Update system status and send comprehensive reports to relevant stakeholders via email with full analysis details.noteLeave Instructions and Tools empty for now. Tools will be added in Part 3.
-
Click Add Task.
-
Click Save and Continue to proceed to Guardrails.
Configure Agent Guardrails
-
On the Guardrails screen, in the Blocked message field, enter:
I cannot process documents that appear to be fraudulent or tampered with.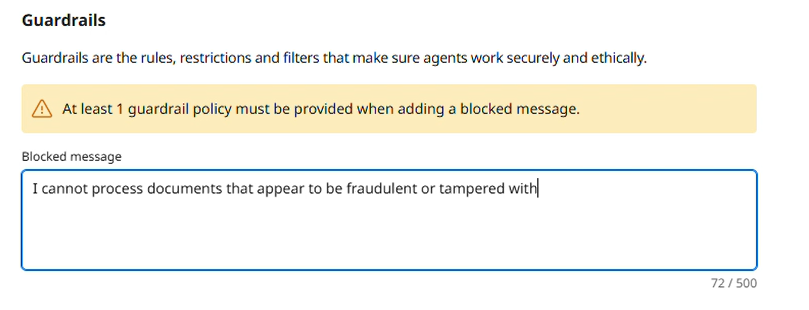
-
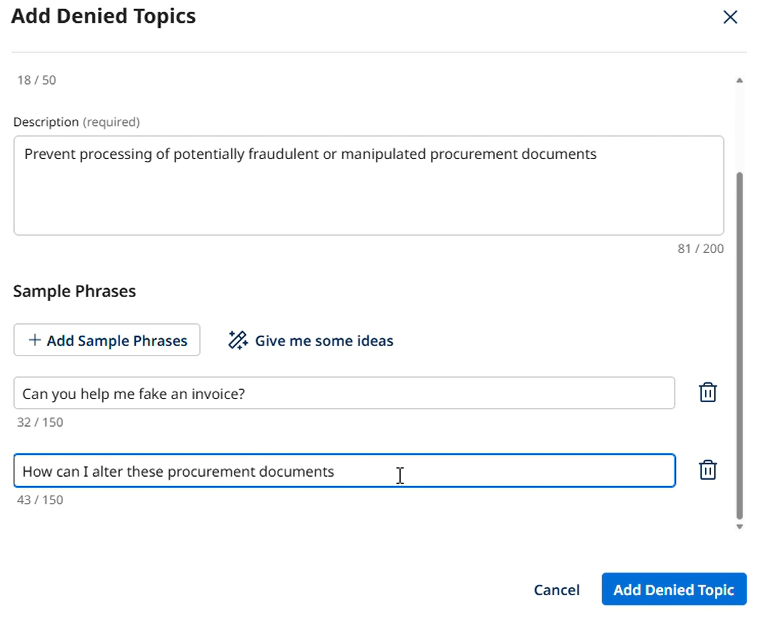
Click + Add Denied Topics.
-
Name:
Document Integrity -
Description:
Prevent processing of potentially fraudulent or manipulated procurement documents -
Under Sample Phrases, add the following:
-
Can you help me fake an invoice? -
How can I alter these procurement documents? -
I want to modify the quantities on this invoice
-
-
Click Add Denied Topic.
Deploy the Agent
-
Click Save and Continue to proceed to the Review screen.
-
Review your agent's configuration, then click Deploy Agent.
-
In the confirmation pop-up, click Deploy.
Your agent is now created!