Part 2: Equip Agent with Data Access Capabilities using DataHub Query Tool
Now that you've defined your agent's role and responsibilities, you need to equip it with data access capabilities. In this section, you'll create a DataHub Query tool to retrieve invoice information and provide your agent with all the data tools it needs for autonomous decision-making.
Navigate to the Tools Section
-
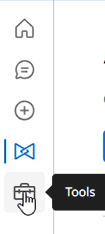
From the main "Agents" list, click the Tools icon in the left-hand navigation bar.
Create a New DataHub Query Tool
-
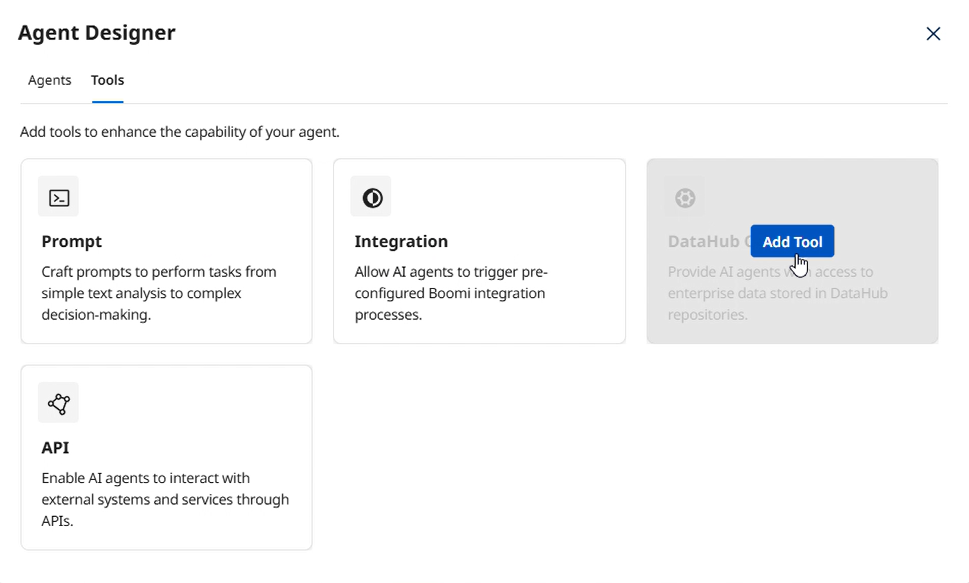
Click Create New Tool.
-
Select DataHub Query from the Agent Designer modal and click Add Tool.
Define the Tool Signature
-
Tool Name:
Query Invoices [builderInitials] -
Description:
Retrieve Invoice by Invoice Number from DataHub -
Under Input Parameters, click + Add Input Parameter.
-
Name:
Invoice Number -
Description:
Invoice Number to use for query -
Type: Select String from the dropdown.
-
Click Add Input Parameter.
-
Click Save & Continue.

Select Data Fields for the Tool
-
On the "Select Fields" screen, choose your Repository (
AI Workshop) and Model (Invoice). -
Select the checkboxes for all fields you want the tool to be able to access. In this case, we'll just click the checkbox in the table header to select all fields.
-
Click Save & Continue.
Filter the Data
-
On the "Filter data" screen, click + Add Filter.
-
FieldName: Select
INVOICE_DOC. -
Operator: Select
EQUALS. -
Value: Select the
{{Invoice Number}}parameter you created earlier. -
Click Save & Continue.

Review and Deploy the Tool
-
On the Review screen, verify the tool's configuration and click Deploy Tool.
-
Confirm by clicking Deploy in the pop-up.
Attach Tools to Your Agent
Now you'll attach all data query tools to your agent's Data Collection & Validation responsibility area. This gives your agent the autonomy to decide which data to gather and when, based on each reconciliation scenario.
In role-based agentic design, we provide agents with all the capabilities they need for their responsibility area, rather than prescribing exactly when to use each tool. Your agent will autonomously determine which documents to retrieve and in what order based on the context of each reconciliation scenario.
This is fundamentally different from task-based workflow automation, where you would explicitly program: "First call tool A, then call tool B, then call tool C." Role-based design trusts the agent's intelligence to determine the optimal approach.
-
Navigate back to the Agents screen.
-
Click on your agent's name from the list. Select Edit in the bottom right, and then click Disable if a dialog box appears.
-
On the Tasks tab, find the Data Collection & Validation task.
-
Click the Manage Tools button for this task.
-
Click + Add New Tool.
-
Search for and check the boxes for the following tools:
Query Invoices [builderInitials](you built a few moments ago)[Invoice] PO Query by PO Number(prebuilt in this shared account)[Invoice] GRN Query by PO Number(prebuilt in this shared account)
noteIn order to find the required tools, copy the tool names above and then use the Search feature.
-
Click Add Tool, and then Save.
-
Click Save and Continue through the remaining screens, then Deploy Agent.
Your agent now has autonomous access to all procurement data sources. It can independently decide which documents to retrieve based on the reconciliation scenario at hand. In the next section, you'll add action capabilities so your agent can communicate findings and update system status.