Activity 1: API Tools for an AI Agent
Your fictional company, Precision Source Manufacturing, wants to improve its part quoting process by empowering teams to proactively address quote creation by leveraging real-time data. Your task is to create an intelligent agent that allows employees to input a Bill of Materials (BOM), detect which parts are available within the internal system, get real-time availability data, and output a potential quote. This activity provides instructions for two tools you can connect to your agent to surface parts data and understand the live state of these parts.
To get the Precision Source Manufacturing Quote Parts Agent ready to be helpful, you will create multiple AI Agent Tools that support a proactive customer experience strategy. First, you will create the Parts DataHub Tool, which aggregates and exposes unified parts data across systems to provide a complete, trusted view. Next, you will build the PIM API Tool, designed to surface and expose key pricing and availability information that helps the AI agent identify part availability.
In this activity, you will complete the following:
- Building the Parts Query API Tool
- Building the PIM API Tool
Building the Parts Query API Tool
-
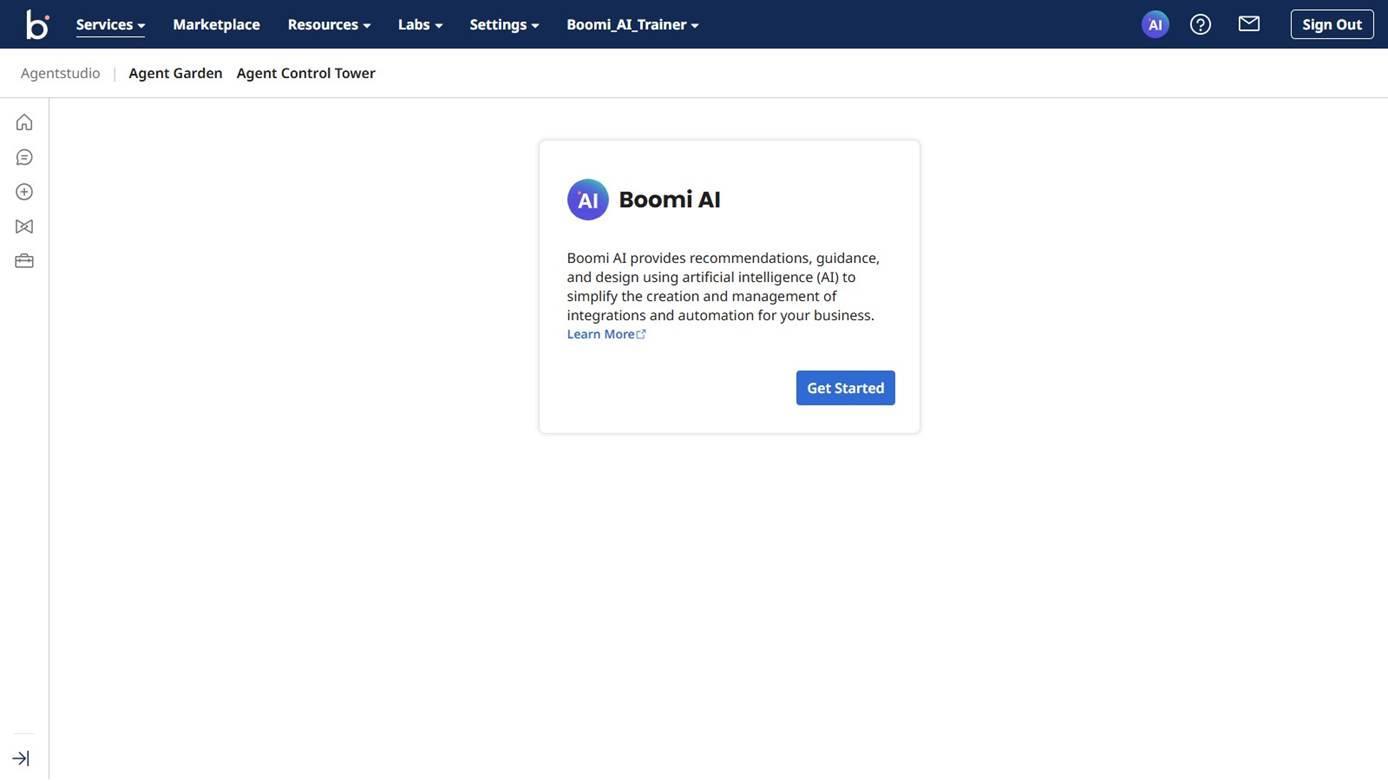
Select the AI button in the top right.
 note
noteThis will open in a new window.
-
If this is your first time accessing Agentstudio, it will look like this:
-
Select Get Started.
-
Accept the Terms and Conditions.
noteMake sure to use the same account throughout your work for Integration and Agentstudio.
-
Select Agent Designer from the left navigation.

-
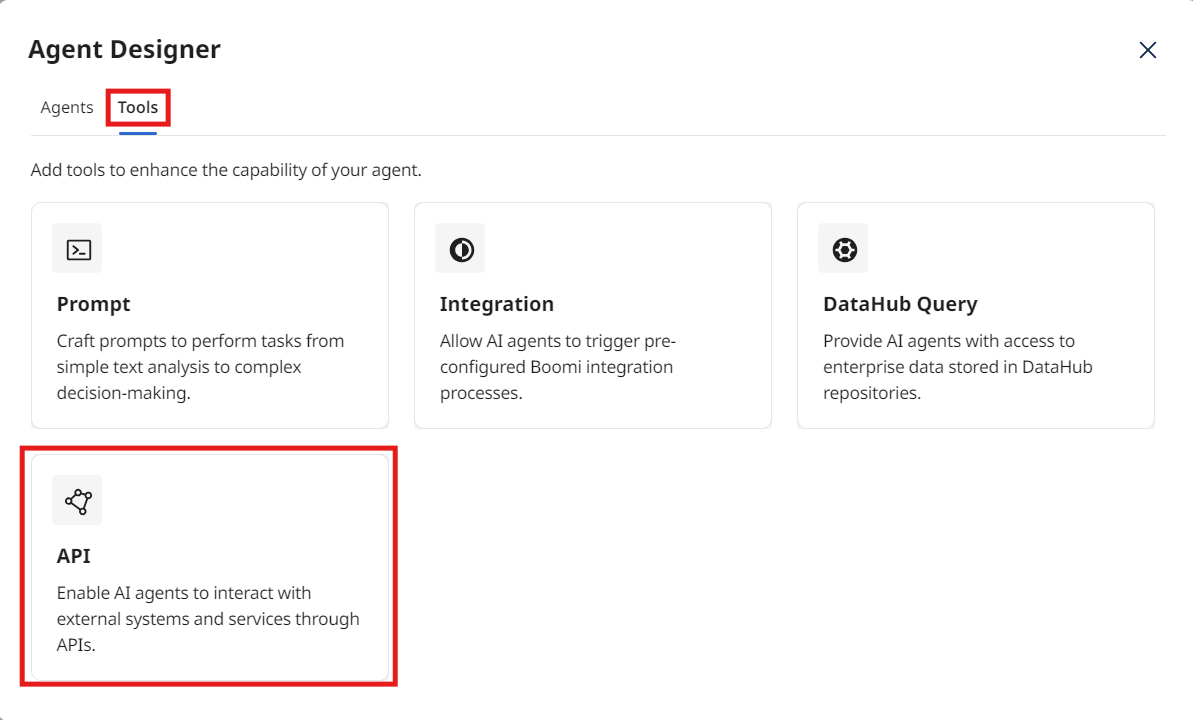
Select the Tools tab.
-
Select Create New Tool.
-
Select the API Tool.
-
Select Add Tool.
-
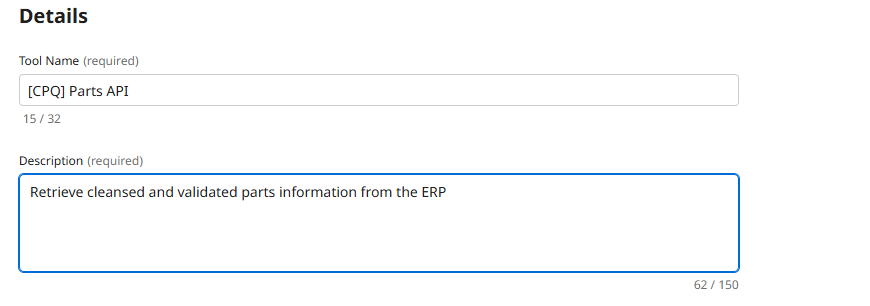
Enter the following:
- Tool Name:
[builderInitials] Parts API - Description:
Retrieve cleansed and validated parts information from the ERP.
- Tool Name:
-
Select + Add Input Parameter.
-
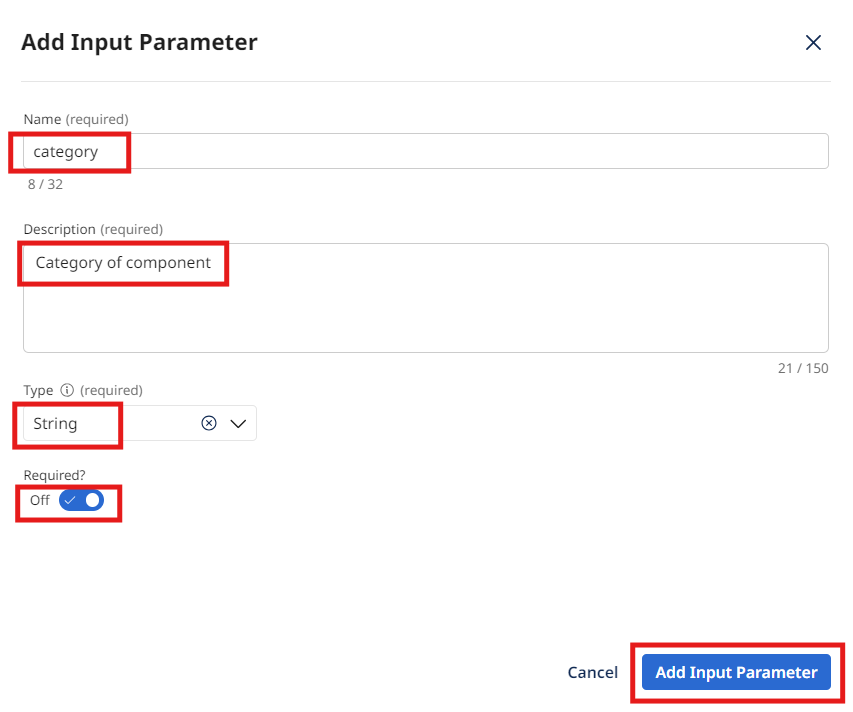
Enter the following:
- Name:
category - Description:
Category of component - Type: String
- Required: True
- Name:
-
Select Add Input Parameter.
-
Select + Add Input Parameter.
-
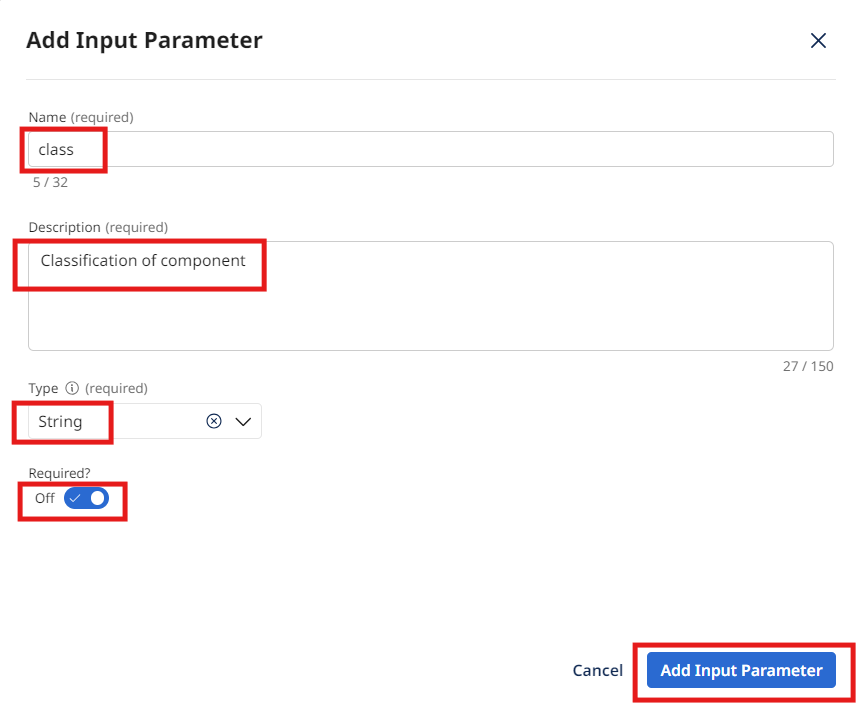
Enter the following:
- Name:
class - Description:
Classification of component - Type: String
- Required: True
- Name:
-
Select Add Input Parameter.
-
Select Save & Continue.
-
Configure the API Call:
- Select Add Manually
- Endpoint Base URL:
https://c04-usa-east.integrate.boomi.com - Method: GET
- Endpoint Path:
/ws/rest/tools/parts - Query Parameters:
- category:
{{category}} - class:
{{class}}
- category:
- Authentication: Basic Authentication
- Username:
boomi_joel_davenport-XBUHTV.LSK9ET - Password:
127dcae6-015c-4f3c-8494-184785aaff0b
- Username:
-
Select Save & Continue.
-
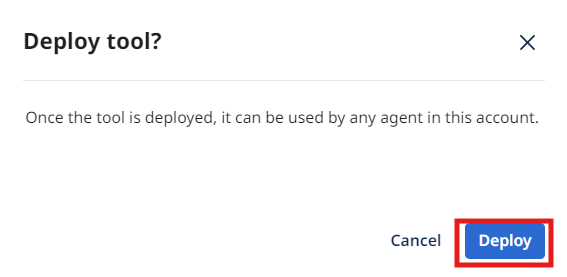
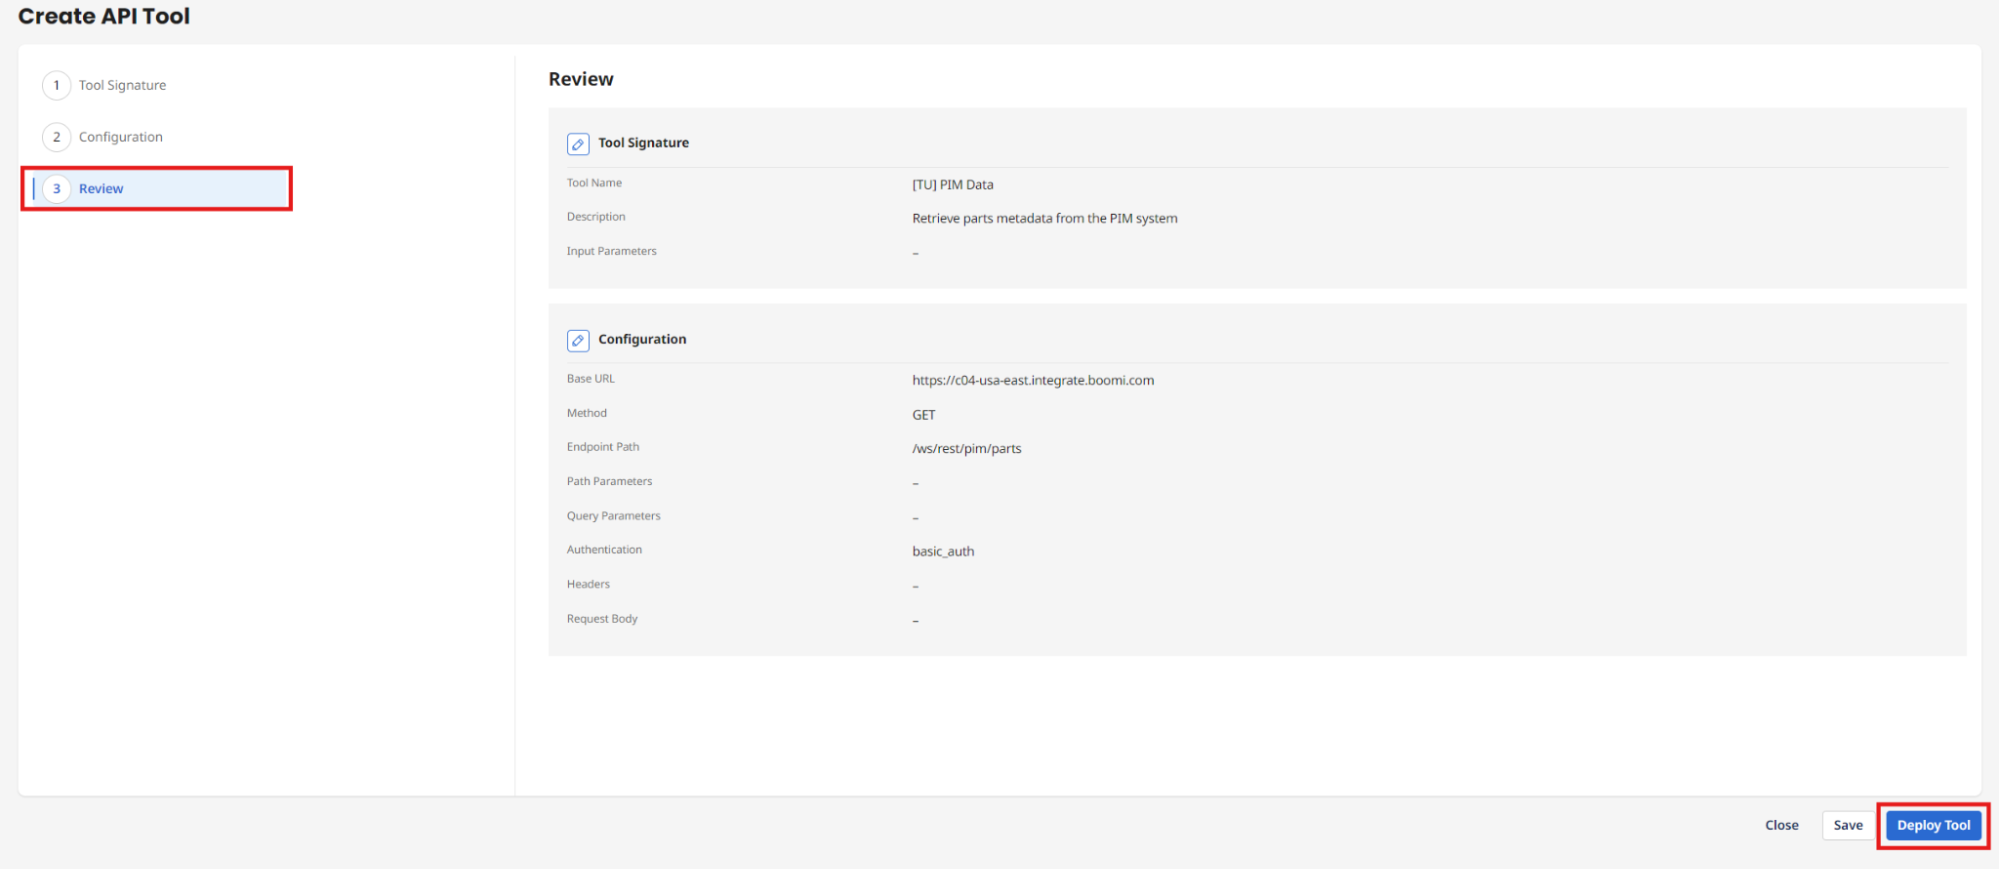
Select Deploy Tool.
-
Select Deploy.
Congratulations, you have successfully deployed your first AI Agentstudio Tool!
Building the PIM Classification API Tool
-
Select Create New Tool.
-
Select the API Tool.
-
Select Add Tool.
-
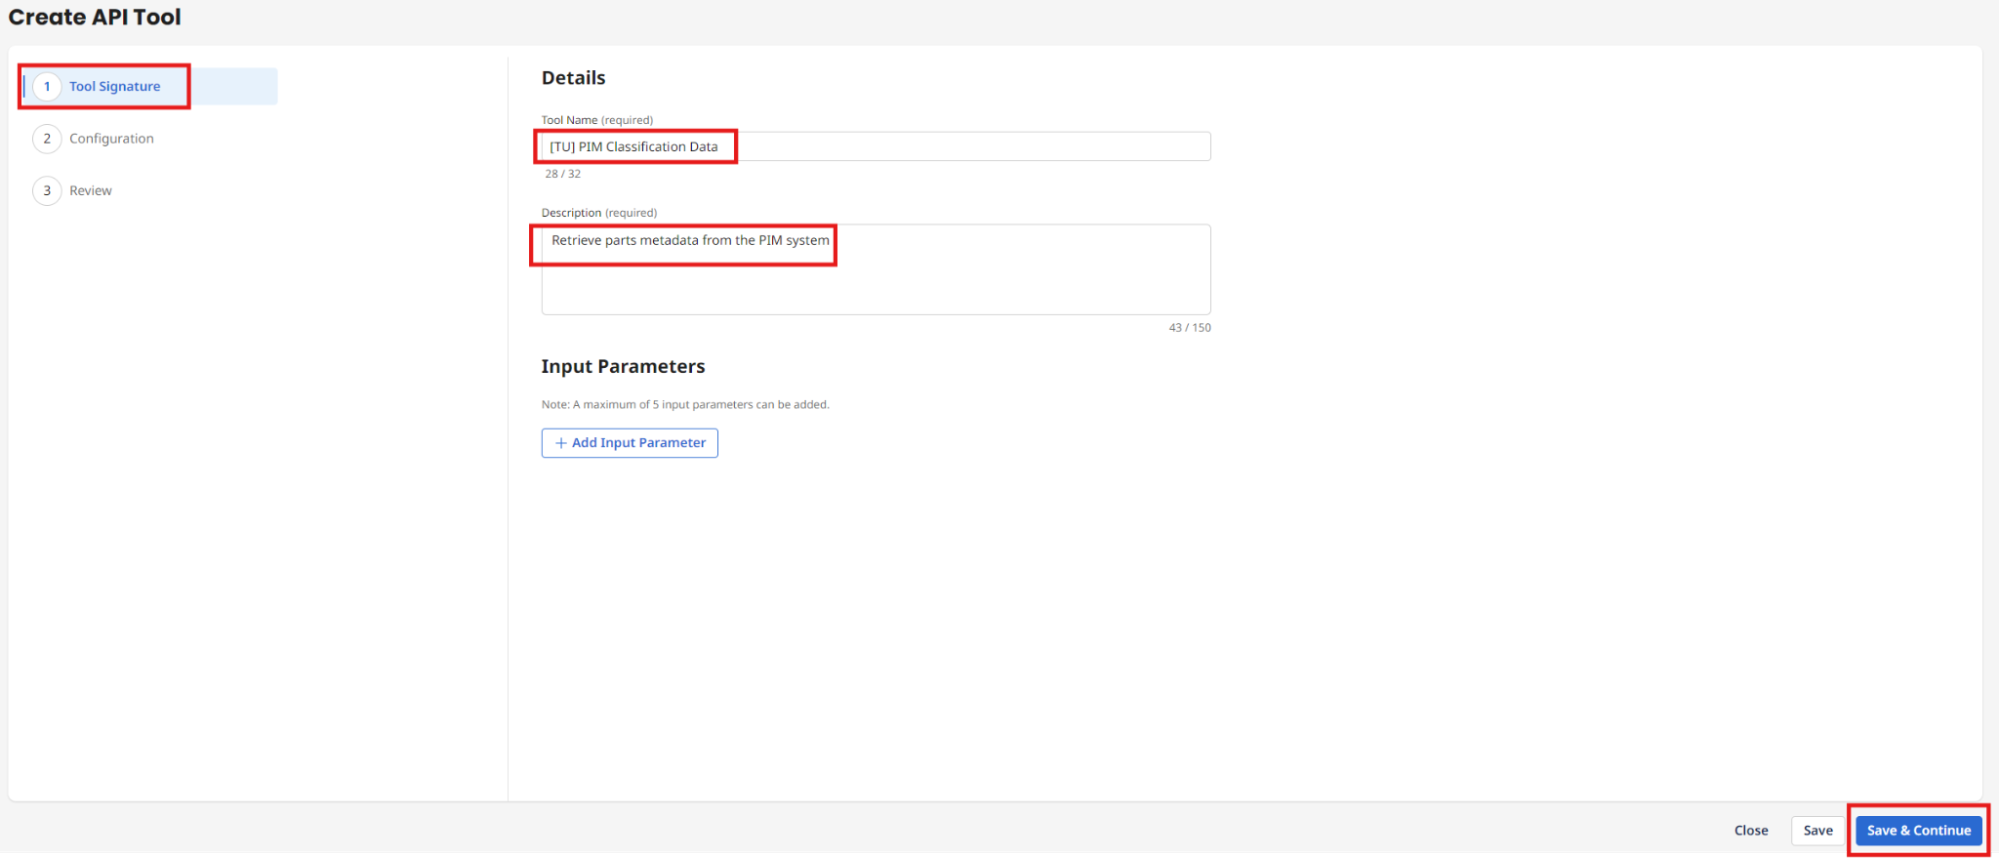
Enter the following:
- Tool Name:
[builderInitials] PIM Classification Data - Description:
Retrieve parts metadata from the PIM system
- Tool Name:
-
Select Save & Continue.
-
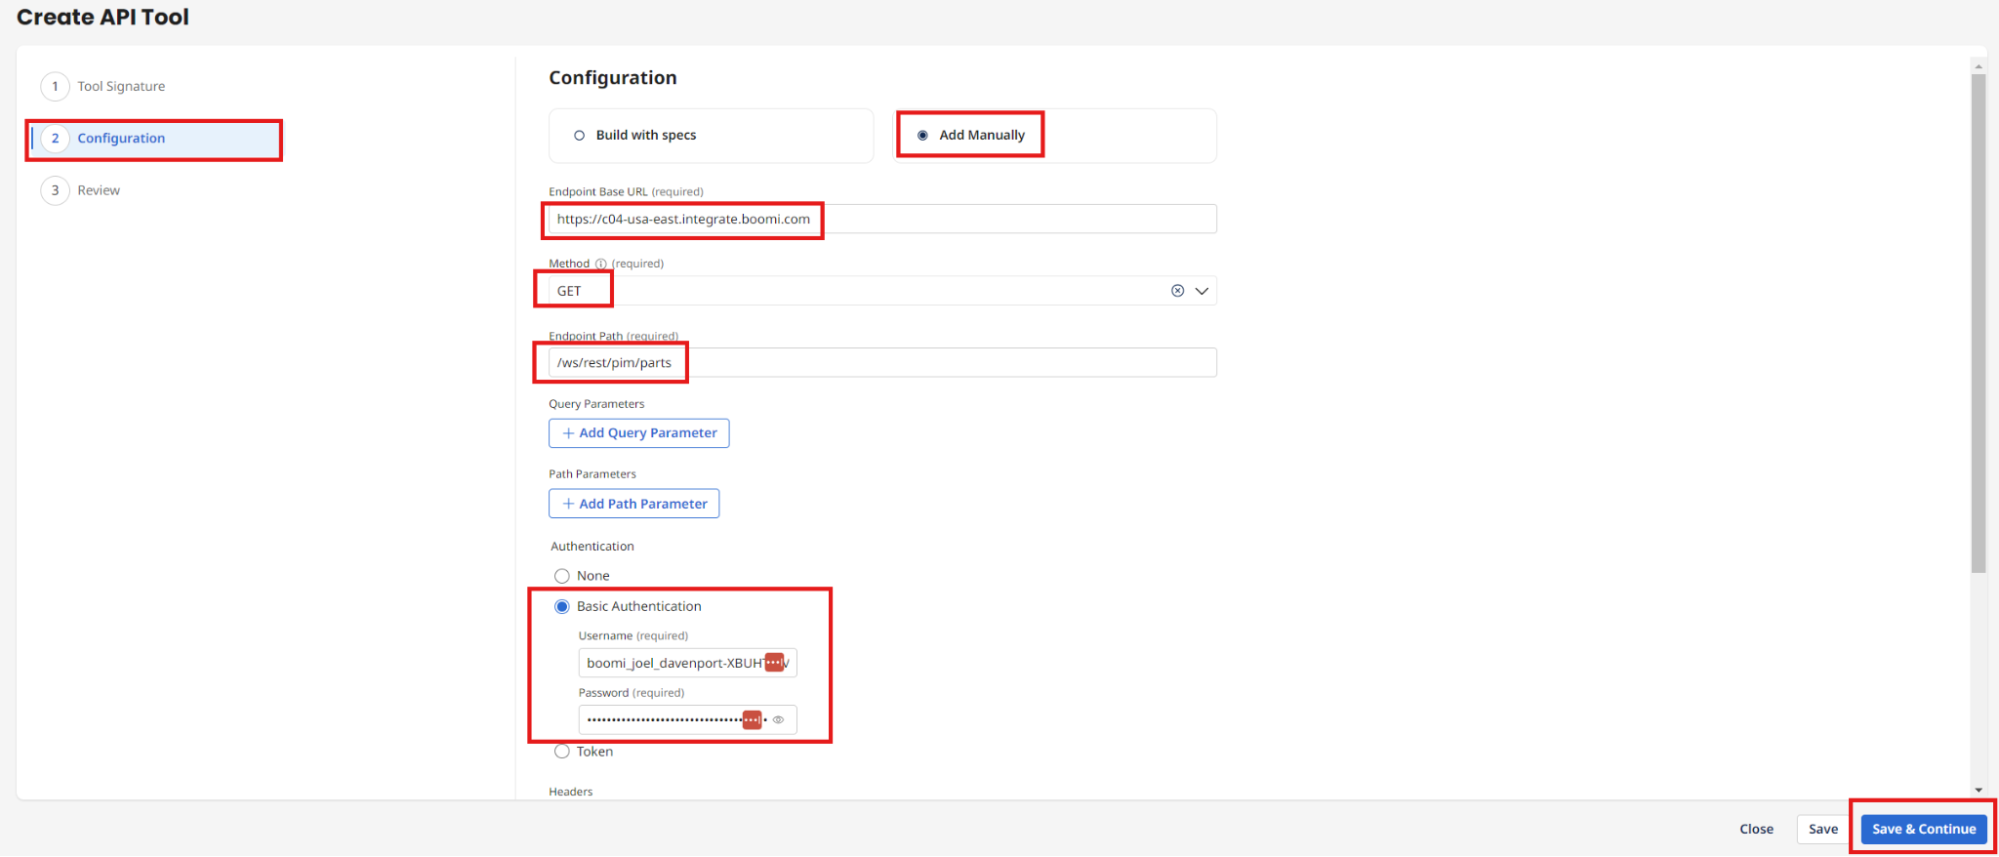
Choose Add Manually under the Configuration:
- Base URL:
https://c04-usa-east.integrate.boomi.com - Method: GET
- Endpoint Path:
/ws/rest/tools/pimClassifications - Basic Authentication:
- Username:
boomi_joel_davenport-XBUHTV.LSK9ET - Password:
127dcae6-015c-4f3c-8494-184785aaff0b
- Username:
- Base URL:
-
Select Save & Continue.
-
Select Deploy Tool.
-
Select Deploy.
Congratulations, you have successfully deployed your second AI Agentstudio Tool and are ready to create your first AI Agent!