Part 1: Create Tools for Your Accounts Receivable Agent
In this first part of the lab, you'll build the foundational tools that give your Accounts Receivable Agent the ability to interact with real financial systems and unstructured data sources. But before we dive into the mechanics of creating tools, let's understand a fundamental shift in how we approach financial automation.
The Evolution: From Task-Based Exception Handling to Role-Based Resolution
For decades, financial systems have operated on rigid, deterministic rules—a payment must match an invoice exactly, or it creates an exception flag and stops. This is the Integration Mindset: structured, task-focused automations that excel at perfect-match scenarios but fail when the real world introduces complexity.
Agentic systems represent the next evolution. Instead of building a narrow automation to "flag payment mismatches," we're designing an agent to fill the role of an "Accounts Receivable Specialist"—a digital colleague who can investigate discrepancies, synthesize information from multiple sources, and resolve complex scenarios autonomously.
Traditional Integration: Builds a solution to perform a single, low-level task. Example: "Create an integration that monitors bank deposits, matches them to invoice amounts, and flags exceptions when they don't match."
Agentic Design: Designs an agent to fill a high-level role in the business. Example: "Design an Accounts Receivable Agent that has the skills, access, and authority to understand why a payment doesn't match, validate the customer's claim, and resolve the discrepancy within governance thresholds."
When you architect for a role, you give the agent a "toolbox" of capabilities and a goal. The agent then reasons and plans its own sequence of actions to achieve that goal—just like a human AR specialist would.
The Power of Truth Synthesis
A key principle of role-based agent design is truth synthesis—understanding that the complete picture often requires information from multiple, disconnected sources. Unlike traditional integrations that expect a single, perfectly structured data source, agents can autonomously gather and connect fragments of information.
A human AR specialist knows they need to check the bank deposit, read the customer's email, review the invoice line items in the ERP, and validate the claim before resolving a discrepancy. Your agent should work the same way—using multiple tools to synthesize the truth, not waiting for a single, pre-integrated data source.
This is the difference between task-based (wait for perfect data) and role-based (go get what you need) design.
In this part, you will create five tools that demonstrate this principle:
- Read Email Attachment - Extract information from unstructured PDF remittance advice
- Get Bank Transaction Details - Retrieve payment data from banking systems
- Get Invoice Details - Fetch invoice line items and totals from the ERP
- Create Credit Memo - Generate credit memos for validated discrepancies
- Post Cash Receipt - Apply payments and update the general ledger
Each tool is focused but flexible—giving your agent the autonomy to synthesize information and solve complex, multi-system problems.
Get Access to the Accounts Receivable API
Before you can create your agent tools, you need to get access to the Accounts Receivable API through the Boomi API Academy portal. This process will provide you with an API key and base URL that you'll use throughout this lab.
-
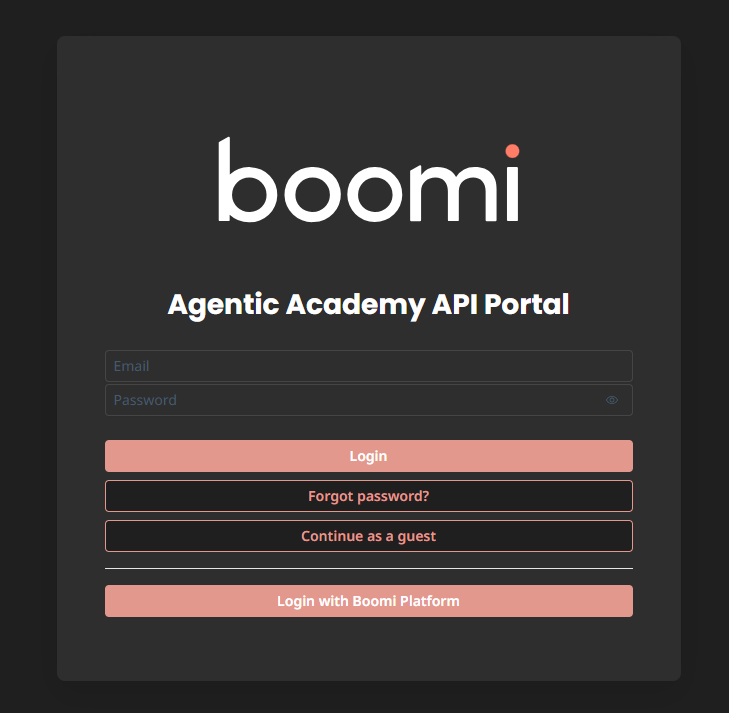
Navigate to the API Academy portal: https://aiplatformcoe-l6qlay.portal.na.controlplane.boomi.com/academy
-
If you don't have a Boomi account:
- Click Continue as Guest.
- Click APIs.
- Click Accounts Receivable.
- Click Get Access.
- Fill out the information and click Create Account.
-
If you do have a Boomi account:
- Click Login with Boomi Platform.
-
Once logged in, create an application to access the API:
-
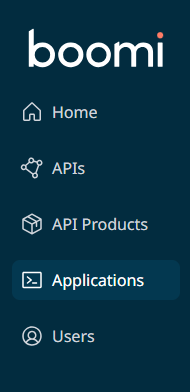
Click Applications in the left sidebar.
-
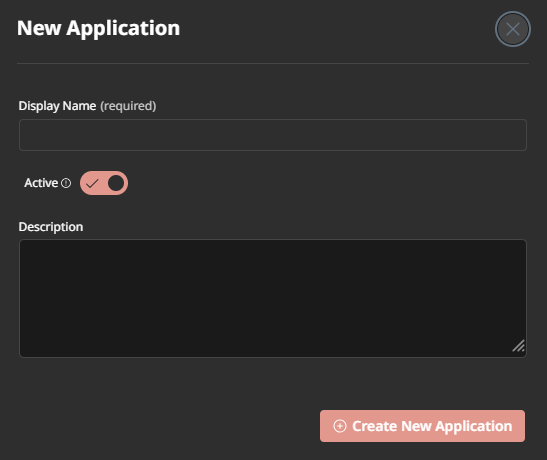
Click Create New Application.

-
Give your application a name (e.g.,
[builderInitials] AR Reconciliation Agent). -
Click Create New Application.
-
-
Subscribe to the Accounts Receivable and Banking API:
-
Click API Products in the left sidebar.

-
Click the Accounts Receivable API product card.
-
Click Plans.
-
Click Subscribe.
-
Choose your application from the Search... box.
-
Click Subscribe.
-
-
Retrieve your API credentials:
-
Click Applications in the left sidebar.
-
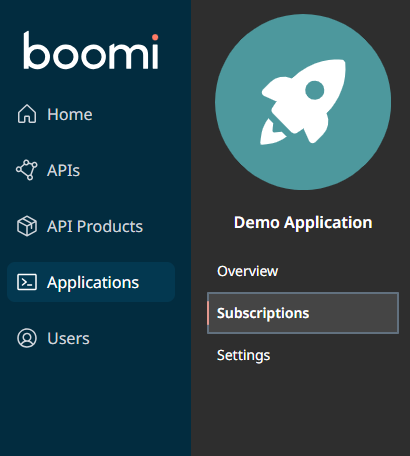
Click on your application name.
-
Click Subscriptions tab.
-
Click Secrets.

-
Copy the Product Key and save it somewhere accessible (you'll need it for every tool).
-
Copy the API Base URL and save it (you'll need this too).
-
You'll use the same API key and base URL for all tools you create. Consider saving them in a text file so you can easily copy and paste them as you build each tool.
Access Agentstudio
Let's start by navigating to the Boomi Agentstudio environment where you'll create your tools. Navigate to platform.boomi.com and login if necessary.
-
From the Boomi Platform, click the AI button in the top right corner.
 note
noteThis will open Agentstudio in a new window. Make sure pop-ups are enabled in your browser.
-
If this is your first time accessing Agentstudio, you'll see a welcome screen. Click Get Started and accept the Terms and Conditions.
-
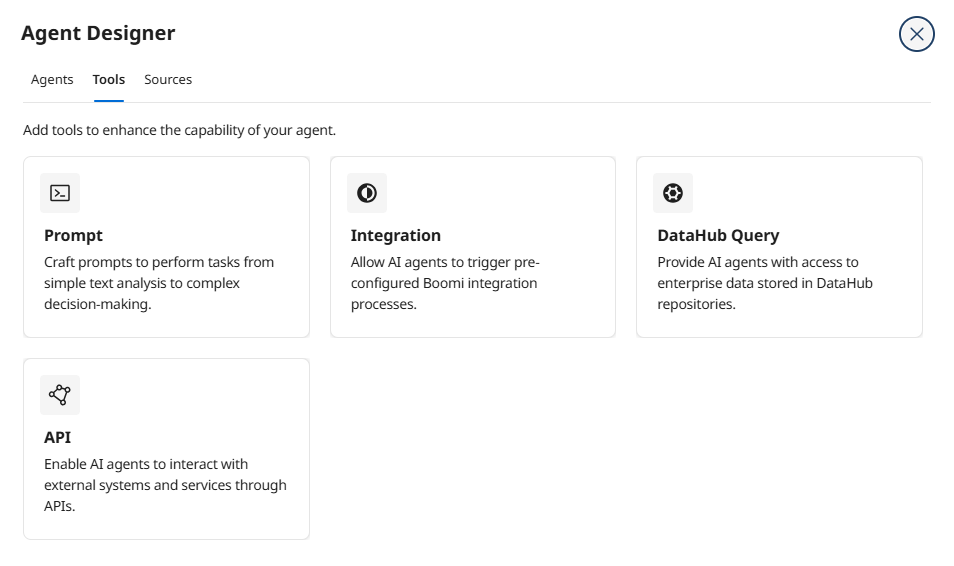
Click the Tools button on the left side of the screen.

Now you're ready to create your first tool!
Tool 1: Read Email Attachment
This tool allows your agent to extract information from unstructured PDF remittance advice documents attached to customer emails. This demonstrates a core agentic capability: handling messy, real-world data without requiring rigid ETL pipelines or pre-formatted schemas.
Notice how this tool processes unstructured PDFs? Traditional integrations would require extensive ETL logic to parse and clean data before processing. Agents, powered by LLMs, can reason with messy data directly—extracting intent, identifying key information, and synthesizing meaning from natural language explanations.
This is the power of role-based design with document intelligence!
-
Click Create New Tool.

-
Hover over API and click Add Tool.
-
Enter the following tool details:
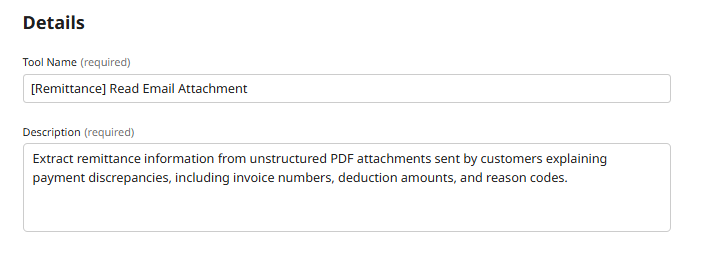
- Tool Name:
[builderInitials] Read Email Attachment - Description:
Extract remittance information from unstructured PDF attachments sent by customers explaining payment discrepancies, including invoice numbers, deduction amounts, and reason codes.
 Why This Description Matters
The description tells your agent WHEN and HOW to use this tool. The AI model uses this description to decide if this tool is appropriate for the current task. Be specific about what data it returns and the scenarios where it's useful.
- Tool Name:
-
Click + Add Input Parameter.
-
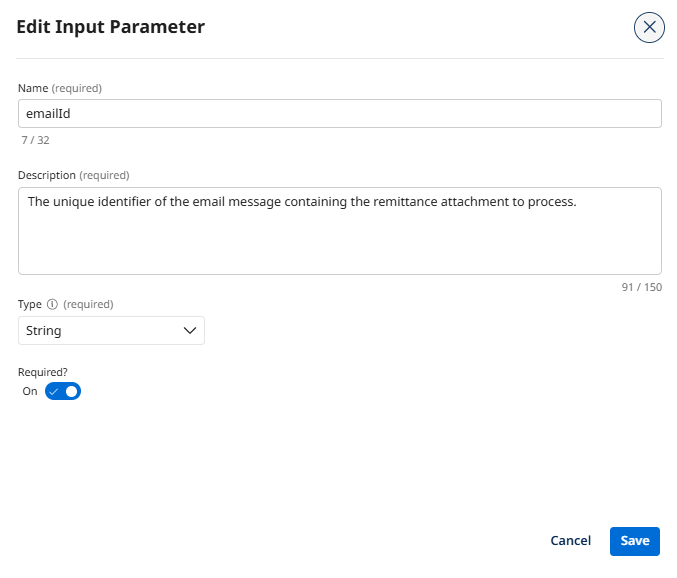
Configure the emailId parameter:
- Name:
emailId - Description:
The unique identifier of the email message containing the remittance attachment to process. - Type: String
- Required: True
- Name:
-
Click Add Input Parameter.
-
Click + Add Input Parameter again.
-
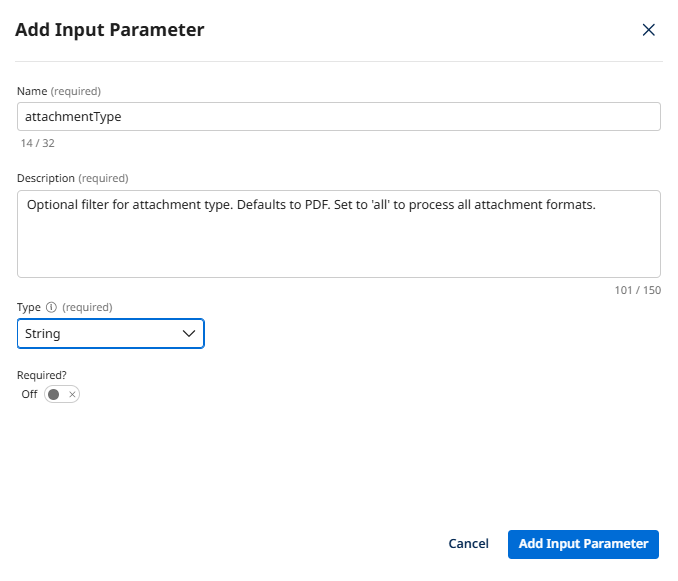
Configure the attachmentType parameter:
- Name:
attachmentType - Description:
Optional filter for attachment type. Defaults to PDF. Set to 'all' to process all attachment formats. - Type: String
- Required: False
 Why Make This Optional?
Sometimes the agent needs to process only PDFs (the most common format), and sometimes customers send scanned images or other formats. Making this parameter optional gives the agent flexibility to adapt based on what it encounters.
- Name:
-
Click Add Input Parameter.
-
Click Save & Continue.
-
Configure the API connection. Click Add Manually and enter the following:
- Endpoint Base URL: Paste the API Base URL you copied from the API Academy portal.
- Method: GET
- Endpoint Path:
/readEmailAttachment

-
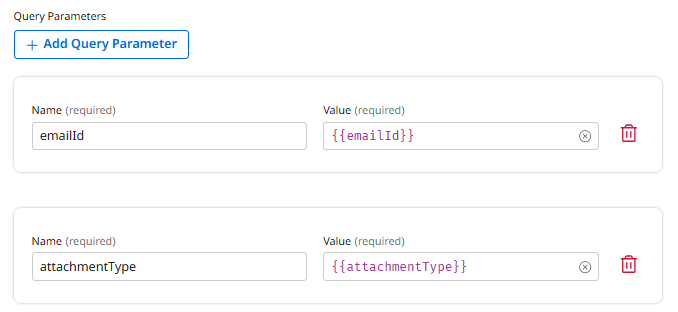
Click + Add Query Parameter.
-
Map the emailId parameter:
- Key:
emailId - Value:
{{emailId}}
- Key:
-
Click + Add Query Parameter again.
-
Map the attachmentType parameter:
- Key:
attachmentType - Value:
{{attachmentType}}
- Key:
-
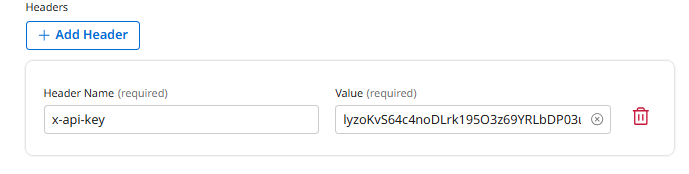
Click + Add Header.
-
Configure the authentication header:
- Key:
X-API-Key - Value: Paste your Product Key from the API Academy portal
- Key:
-
Click Deploy Tool.
-
Confirm deployment by clicking Deploy.
You've created your first tool that handles unstructured data—a core capability that traditional integrations struggle with. Your agent can now extract meaning from messy, real-world customer documents!
Tool 2: Get Bank Transaction Details
This tool allows your agent to retrieve payment information from the banking portal. It demonstrates flexible search capabilities—the agent can look up transactions by transaction ID, invoice number, customer ID, or date range depending on what information it has available.
Notice how this tool has multiple OPTIONAL search parameters? This means the agent can:
- Look up a specific transaction:
transactionId=TXN-12345 - Find all transactions for an invoice:
invoiceNumber=INV-789 - Browse recent activity for a customer:
customerId=CUST-456&dateFrom=2024-01-01
One tool, multiple search strategies—that's role-based design!
-
Click Create New Tool.
-
Hover over API and click Add Tool.
-
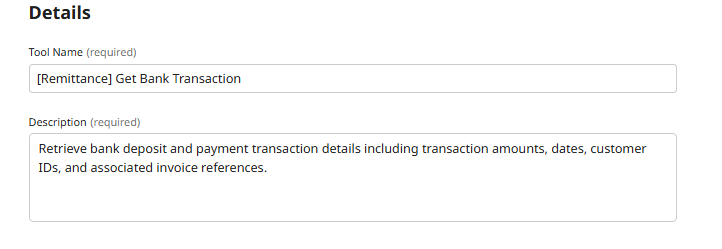
Enter the following tool details:
- Tool Name:
[builderInitials] Get Bank Transaction - Description:
Retrieve bank deposit and payment transaction details including transaction amounts, dates, customer IDs, and associated invoice references.
- Tool Name:
-
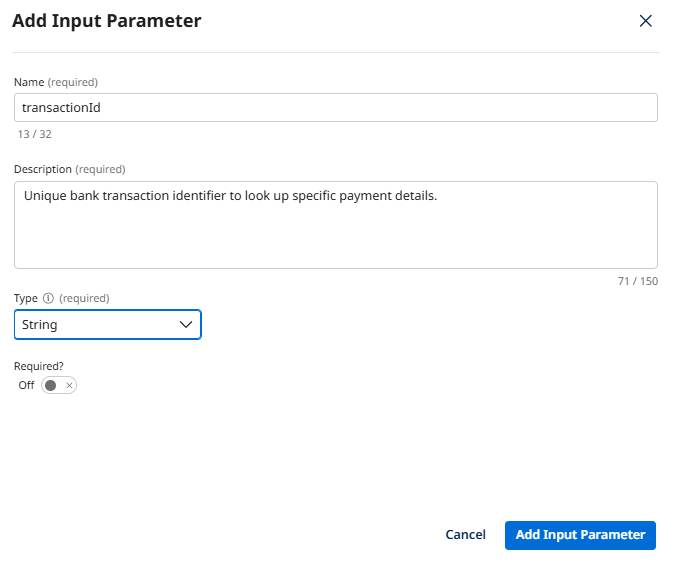
Click + Add Input Parameter.
-
Configure the transactionId parameter:
- Name:
transactionId - Description:
Unique bank transaction identifier to look up specific payment details. - Type: String
- Required: False
- Name:
-
Click Add Input Parameter.
-
Click + Add Input Parameter again.
-
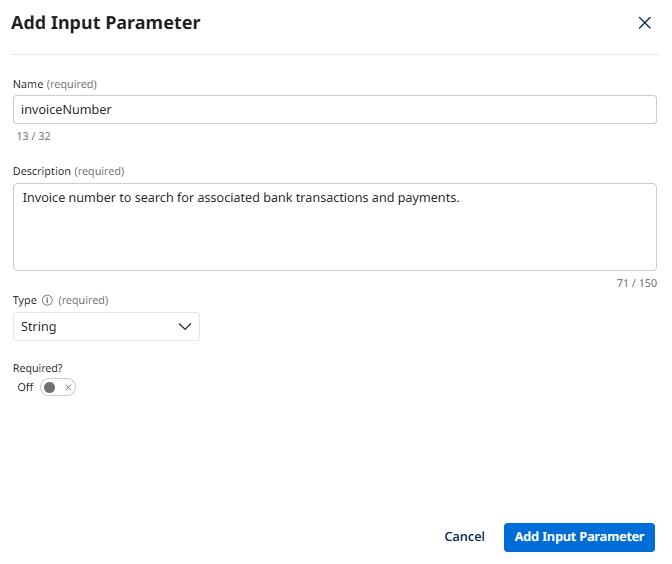
Configure the invoiceNumber parameter:
- Name:
invoiceNumber - Description:
Invoice number to search for associated bank transactions and payments. - Type: String
- Required: False
- Name:
-
Click Add Input Parameter.
-
Click + Add Input Parameter again.
-
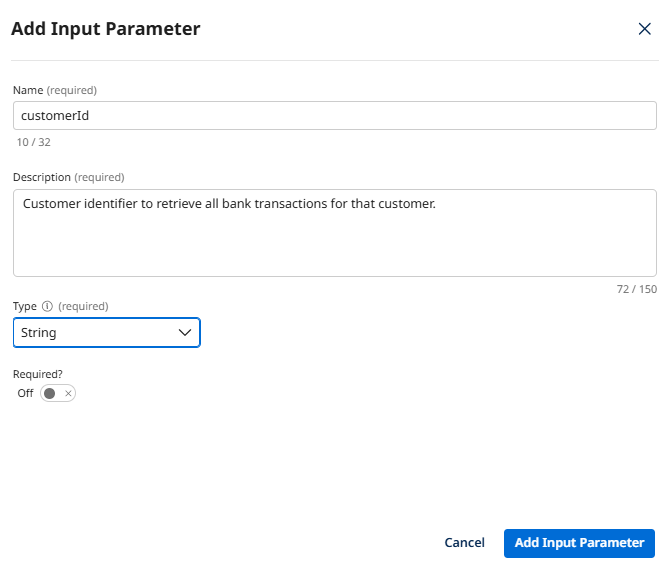
Configure the customerId parameter:
- Name:
customerId - Description:
Customer identifier to retrieve all bank transactions for that customer. - Type: String
- Required: False
- Name:
-
Click Add Input Parameter.
-
Click Save & Continue.
-
Configure the API connection. Click Add Manually and enter the following:
- Endpoint Base URL: Paste the API Base URL you copied from the API Academy portal.
- Method: GET
- Endpoint Path:
/bankTransaction
-
Click + Add Query Parameter.
-
Map the transactionId parameter:
- Key:
transactionId - Value:
{{transactionId}}
- Key:
-
Click + Add Query Parameter again.
-
Map the invoiceNumber parameter:
- Key:
invoiceNumber - Value:
{{invoiceNumber}}
- Key:
-
Click + Add Query Parameter again.
-
Map the customerId parameter:
- Key:
customerId - Value:
{{customerId}}
- Key:
-
Click + Add Header.
-
Configure the authentication header:
- Key:
X-API-Key - Value: Paste your Product Key from the API Academy portal
- Key:
-
Click Deploy Tool.
-
Confirm deployment by clicking Deploy.
You've created a flexible search tool with multiple optional parameters. Your agent can now retrieve bank transaction data using whatever information it has available!
Tool 3: Get Invoice Details
This tool allows your agent to retrieve detailed invoice information from the ERP system, including line items, quantities, unit prices, and totals. This is critical for validating customer claims—the agent must cross-reference deduction amounts against actual invoice line items.
-
Click Create New Tool.
-
Hover over API and click Add Tool.
-
Enter the following tool details:
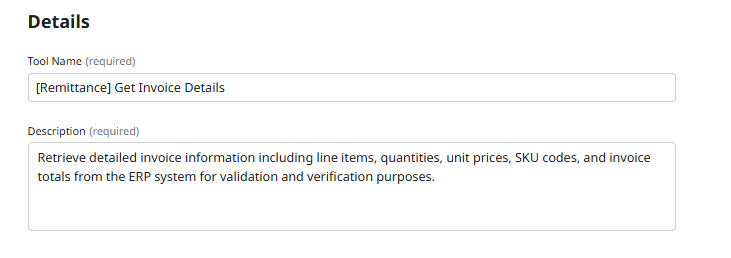
- Tool Name:
[builderInitials] Get Invoice Details - Description:
Retrieve detailed invoice information including line items, quantities, unit prices, SKU codes, and invoice totals from the ERP system for validation and verification purposes.
- Tool Name:
-
Click + Add Input Parameter.
-
Configure the invoiceNumber parameter:
- Name:
invoiceNumber - Description:
Invoice number to retrieve detailed line item information for validation. - Type: String
- Required: True

- Name:
-
Click Add Input Parameter.
-
Click + Add Input Parameter again.
-
Configure the includeLineItems parameter:
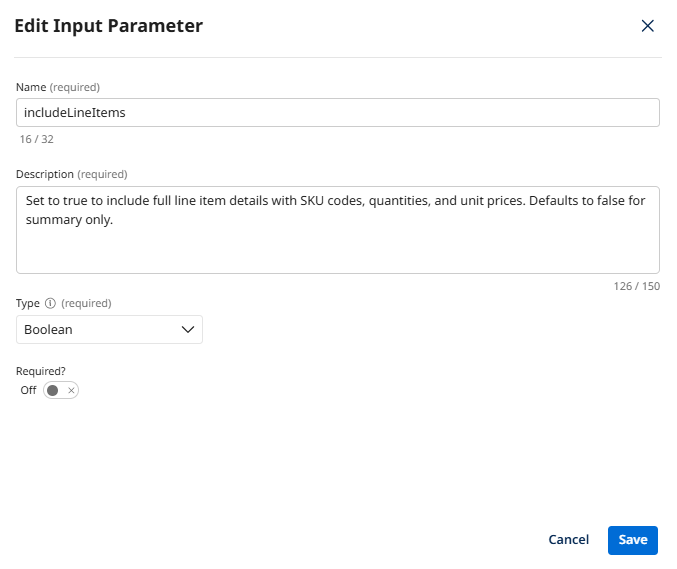
- Name:
includeLineItems - Description:
Set to true to include full line item details with SKU codes, quantities, and unit prices. Defaults to false for summary only. - Type: Boolean
- Required: False
 Why This Parameter?
Sometimes the agent only needs to confirm the invoice total (quick check), and sometimes it needs to validate specific line item claims (detailed verification). This optional parameter gives the agent control over the level of detail it retrieves.
- Name:
-
Click Add Input Parameter.
-
Click Save & Continue.
-
Configure the API connection. Click Add Manually and enter the following:
- Endpoint Base URL: Paste the API Base URL you copied from the API Academy portal.
- Method: GET
- Endpoint Path:
/invoiceDetails
-
Click + Add Query Parameter.
-
Map the invoiceNumber parameter:
- Key:
invoiceNumber - Value:
{{invoiceNumber}}
- Key:
-
Click + Add Query Parameter again.
-
Map the includeLineItems parameter:
- Key:
includeLineItems - Value:
{{includeLineItems}}
- Key:
-
Click + Add Header.
-
Configure the authentication header:
- Key:
X-API-Key - Value: Paste your Product Key from the API Academy portal
- Key:
-
Click Deploy Tool.
-
Confirm deployment by clicking Deploy.
You've created a tool that provides the detailed invoice data your agent needs to validate customer claims. Truth synthesis in action—linking bank deposits to customer emails to invoice line items!
Tool 4: Create Credit Memo
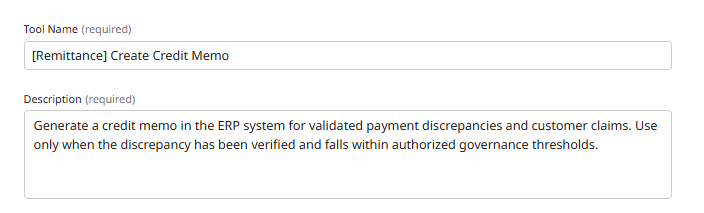
This tool allows your agent to generate credit memos in the ERP system for validated payment discrepancies. This demonstrates a critical shift: giving the agent authority to execute transactions within defined governance boundaries, not just report exceptions.
Notice that this tool gives your agent the ability to create financial transactions. This is a core agentic capability—autonomous action with authority. In Part 2, you'll configure governance guardrails that define when the agent can use this tool (e.g., only for discrepancies under $2,500 with documented proof).
This is how we balance autonomy with control!
-
Click Create New Tool.
-
Hover over API and click Add Tool.
-
Enter the following tool details:
- Tool Name:
[builderInitials] Create Credit Memo - Description:
Generate a credit memo in the ERP system for validated payment discrepancies and customer claims. Use only when the discrepancy has been verified and falls within authorized governance thresholds.
- Tool Name:
-
Click + Add Input Parameter.
-
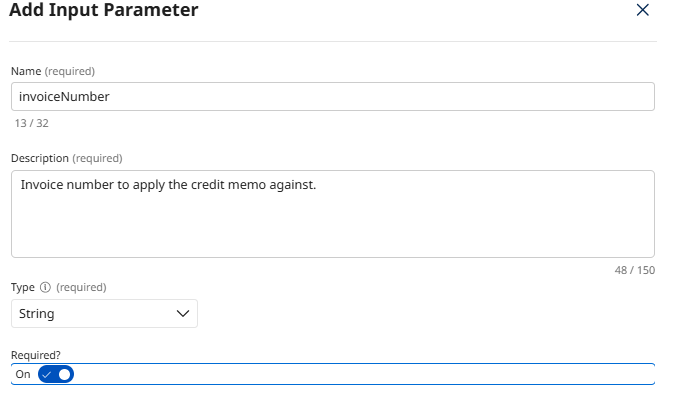
Configure the invoiceNumber parameter:
- Name:
invoiceNumber - Description:
Invoice number to apply the credit memo against. - Type: String
- Required: True
- Name:
-
Click Add Input Parameter.
-
Click + Add Input Parameter again.
-
Configure the customerId parameter:
- Name:
customerId - Description:
Customer identifier for the credit memo. - Type: String
- Required: True

- Name:
-
Click Add Input Parameter.
-
Click + Add Input Parameter again.
-
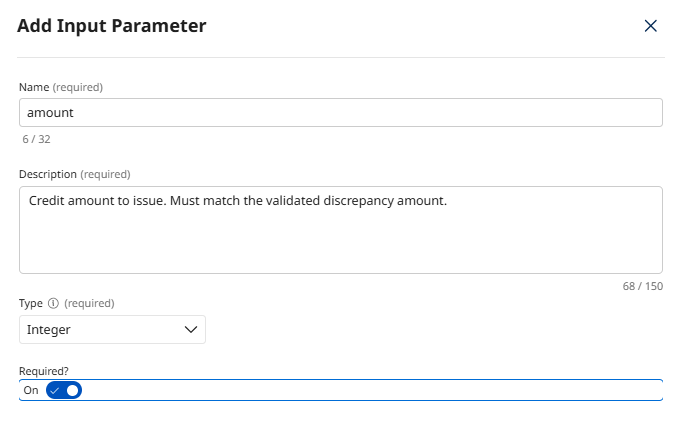
Configure the amount parameter:
- Name:
amount - Description:
Credit amount to issue. Must match the validated discrepancy amount. - Type: Integer
- Required: True
- Name:
-
Click Add Input Parameter.
-
Click + Add Input Parameter again.
-
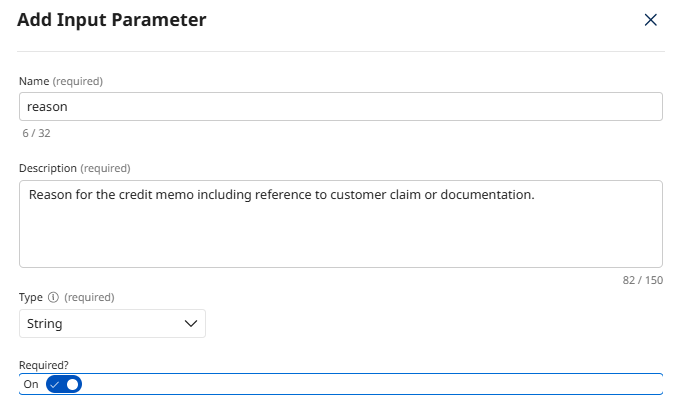
Configure the reason parameter:
- Name:
reason - Description:
Reason for the credit memo including reference to customer claim or documentation. - Type: String
- Required: True
- Name:
-
Click Add Input Parameter.
-
Click Save & Continue.
-
Configure the API connection. Click Add Manually and enter the following:
- Endpoint Base URL: Paste the API Base URL you copied from the API Academy portal.
- Method: POST
- Endpoint Path:
/creditMemo
-
Click + Add Header.
-
Configure the authentication header:
- Key:
X-API-Key - Value: Paste your Product Key from the API Academy portal
- Key:
-
Click + Add Header again.
-
Configure the content type header:
- Key:
Content-Type - Value:
application/json
- Key:
-
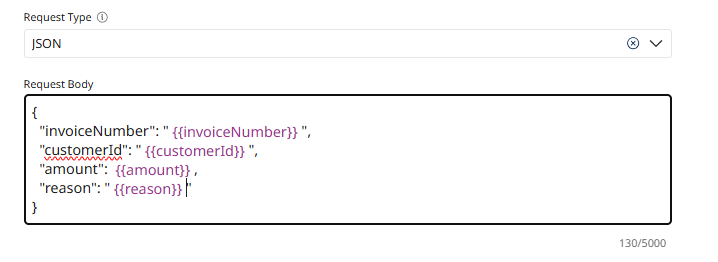
In the Body section, select JSON from the Request Type dropdown.
-
Enter the following JSON payload:
{
  "invoiceNumber": "{{invoiceNumber}}",
  "customerId": "{{customerId}}",
  "amount": {{amount}},
  "reason": "{{reason}}"
}
-
Click Deploy Tool.
-
Confirm deployment by clicking Deploy.
You've created a tool that gives your agent the authority to execute financial transactions! This is a core principle of role-based design—agents with decision-making power, not just reporting bots.
Tool 5: Post Cash Receipt
This tool allows your agent to apply payments to invoices and update the general ledger. This is the final step in autonomous resolution—closing the loop from exception detection to complete financial reconciliation.
-
Click Create New Tool.
-
Hover over API and click Add Tool.
-
Enter the following tool details:
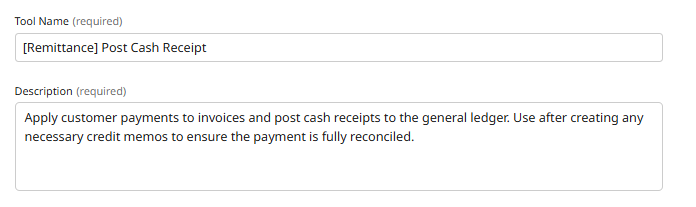
- Tool Name:
[builderInitials] Post Cash Receipt - Description:
Apply customer payments to invoices and post cash receipts to the general ledger. Use after creating any necessary credit memos to ensure the payment is fully reconciled.
- Tool Name:
-
Click + Add Input Parameter.
-
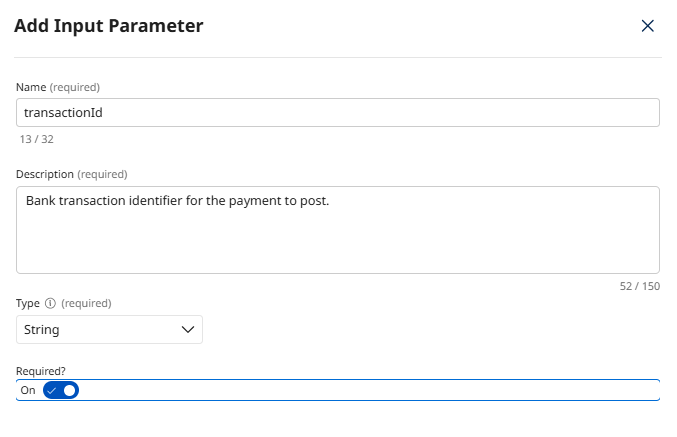
Configure the transactionId parameter:
- Name:
transactionId - Description:
Bank transaction identifier for the payment to post. - Type: String
- Required: True
- Name:
-
Click Add Input Parameter.
-
Click + Add Input Parameter again.
-
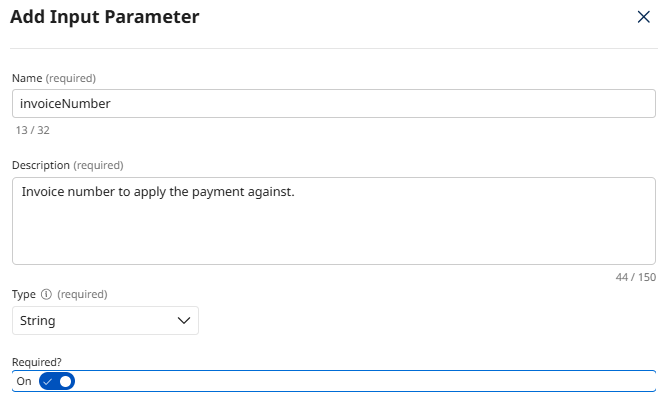
Configure the invoiceNumber parameter:
- Name:
invoiceNumber - Description:
Invoice number to apply the payment against. - Type: String
- Required: True
- Name:
-
Click Add Input Parameter.
-
Click + Add Input Parameter again.
-
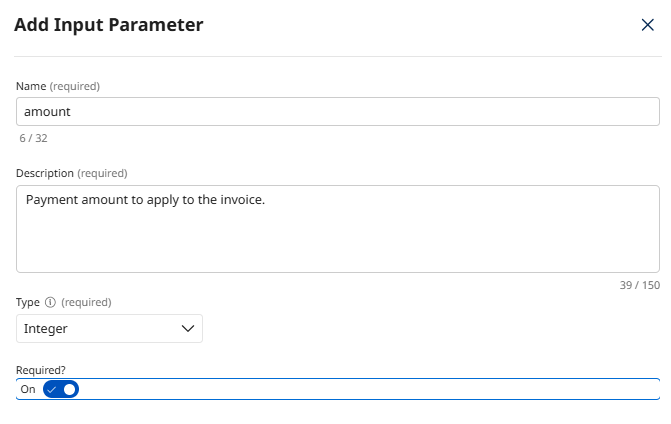
Configure the amount parameter:
- Name:
amount - Description:
Payment amount to apply to the invoice. - Type: Integer
- Required: True
- Name:
-
Click Add Input Parameter.
-
Click + Add Input Parameter again.
-
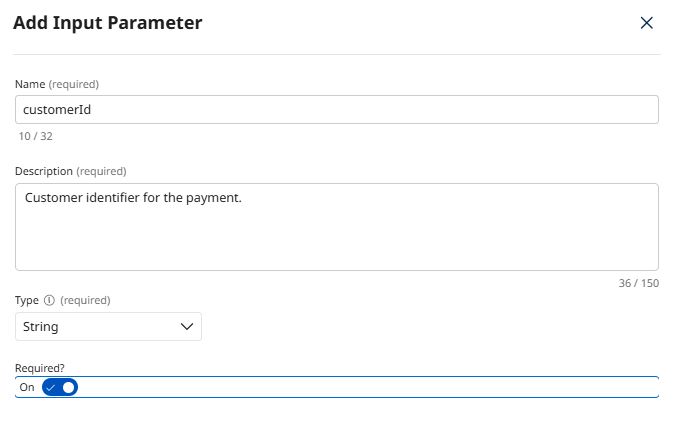
Configure the customerId parameter:
- Name:
customerId - Description:
Customer identifier for the payment. - Type: String
- Required: True
- Name:
-
Click Add Input Parameter.
-
Click Save & Continue.
-
Configure the API connection. Click Add Manually and enter the following:
- Endpoint Base URL: Paste the API Base URL you copied from the API Academy portal.
- Method: POST
- Endpoint Path:
/cashReceipt
-
Click + Add Header.
-
Configure the authentication header:
- Key:
X-API-Key - Value: Paste your Product Key from the API Academy portal
- Key:
-
Click + Add Header again.
-
Configure the content type header:
- Key:
Content-Type - Value:
application/json
- Key:
-
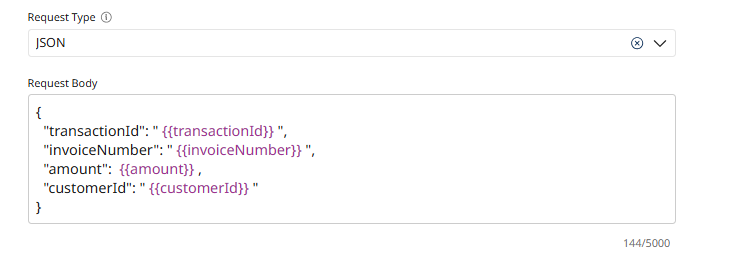
In the Body section, select JSON from the Request Type dropdown.
-
Enter the following JSON payload:
{
  "transactionId": "{{transactionId}}",
  "invoiceNumber": "{{invoiceNumber}}",
  "amount": {{amount}},
  "customerId": "{{customerId}}"
}
-
Click Deploy Tool.
-
Confirm deployment by clicking Deploy.
You've completed the full toolkit for autonomous accounts receivable resolution! Your agent can now investigate discrepancies, validate claims, create credit memos, and post cash receipts—end-to-end financial automation with reasoning authority.
What You've Built: A Toolbox for Truth Synthesis
Let's reflect on what makes this toolkit different from traditional integration components:
| Traditional Integration Components | Role-Based Agent Tools |
|---|---|
| Rigid schemas require perfect data formats | Flexible tools handle unstructured PDFs and natural language |
| Single-source lookups (one API = one purpose) | Multi-parameter search (one tool, many strategies) |
| Exception flagging stops the process | Transaction execution resolves the exception |
| Siloed operations (bank ≠ email ≠ ERP) | Truth synthesis across all sources |
Your agent now has the capabilities to perform the role of an Accounts Receivable Specialist. In Part 2, you'll configure the agent itself—defining its role, giving it instructions, setting governance guardrails, and teaching it when and how to use these tools to achieve its goal.
You've built the tools. Now let's build the digital colleague who knows how to use them! Click Next to continue.